Wednesday, 4 April 2012

Pirate treasures

Today I made pirate treasure chests with Alex and Jasmine as promised. We made three in total - one each. We used old cardboard boxes that we had collected as a starting point. See the bottom of this post for a list of materials we used in addition to our boxes, all of which we bought at the newsagency.

Similarly to other activities we have done recently, the end product is quite simple. Most importantly it creates an opportunity to talk about pirates, treasure, mermaids and put on our roughest pirate voices and bellow at the top of our voices. The kids loved fingering all their gold paper coins, sitting in their pretend pirate ship, grasping their treasure chest, map and telescopes and fantasising about a life on the sea.

You can see in the pictures that I helped the kids by painting the large box with brown paint as I knew this one would be too big to cover. For the two smaller boxes, we covered these in the metallic wrapping sheets with sticky tape. The kids needed a little assistance with this.

Jasmine decorated her treasure chest with pink glittery hearts and stars that she cut out with fancy hole punchers. She also put glitter glue on the sides of her box. Alex was happy with a plain box but insisted on a skull and bone picture which I found very easily on the internet and printed for him to glue on. For something more ornate I think you could easily stick on some beads, gems or stickers.


Dressed in his favourite pirate suit from Spotlight, Alex took himself off to draw a map.


I cut out coins by tracing around a spice jar on three layers of gold paper. Much of my paper comes from Spotlight, Riot Art and Craft Stores or the Newsagency at my local shops.


Alex told me that all pirates need a sword. That's fine, but I only had pink cardboard so this pirate has a pink sword!

List of materials:
  • brown paint,
  • gold and silver tissue paper and metallic paper,
  • a variety of coloured paper,
  • scissors,
  • glitter,
  • craft glue,
  • heart and star hole puncher,
  • skull and bone clipart print out from the computer.

Tuesday, 3 April 2012

Follow crafty blogs on Facebook or email

I am gradually discovering all the different gadgets available on my blog site and adding them in when I have a chance. I just created a "Crafty Little People" page on Facebook so that you can follow my blogs on Faceboook if you find that easier.

I have also added in the function so you can sign up and have my blog delivered to you via email.

Have a look on the right hand column of my blog page for these new functions including a link to my new Facebook page.

If you like the blogs, click on "Like" and let me know or post me a comment. You can also show your support by clicking on "Follow".

If anyone has suggestions on how to make this blog easier to read or if there is an activity you are particularly keen to read more about, let me know.

Monday, 2 April 2012

Happy Easter crafting and gardening

I mentioned in my previous post that I would talk about our pirate craft activity. However, Easter is upon us and my kids are obsessed with Easter egg hunts and decorating the house with Easter paraphernalia. On top of that, I have been worried about the voracious growth of weeds in my garden and wilting vegie patch. So I am afraid this post is to be about our weekend in the garden - planting and crafting. The sun was out and the temperature perfect so despite our competing goals and desires it was a fun weekend.


I have seen some fabulous dyed eggs in shop windows and in magazines. However, with all the weeding and planting to be done, we put into action some simpler activities. I had to spend a little time setting up the activities for the kids but then I could leave them to it pretty much. We had collected some egg shaped cut-outs, polysterene eggs, felt pieces, shaped buttons, eyelets and brads from my local Riot Art and Craft Store last month. These were all put to good use, plus our usual bag of acrylic paints, craft glue, tissue paper and coloured pipe cleaners. See below for some snaps of what we achieved and a short explanation of how we did it.


For the polysterene eggs, Jasmine and I put them on wooden skewers and gave them a coat of acrylic paint. The paint dried very quickly so Jasmine could easily decorate by sticking brads into the foam. She also used a paint brush to apply the glue to the little coloured buttons and add them on. Alex and Jasmine used the same glue container to stick the pre-cut felt pieces onto their egg-collecting bags. These bags were put to good use in the afternoon when they joined their cousins on a chocolate egg hunt.

For the tissue paper flowers, the kids may find it a bit fiddly so may need help. Cut tissue paper into rectangles then give the long edges a fancy trim such as scallops or triangles. Lay out five different coloured sheets and fold like and accordian or as you would to make a fan. Tie in the middle with a coloured pipe cleaner. Pull apart the fan carefully and then lift up each sheet and massage into a flower shape.


Wednesday, 28 March 2012

Imaginative play with craft

Today Alex and Jasmine were in the mood for imaginative play all day. The theme for their gymnastics class at 11am was dress ups so perhaps this is what inspired them. We had a few hours in between breakfast and gymnastics so we decided to make some rocket ships and make a trip to space. We had recently been given three boxes of second hand books including a book on stars and planets. When planning how to build our rocket ships we referred to this book for ideas as well as helping us to learn some planet facts.

I had been diligently collecting boxes for potential kids crafts. I had two shoe boxes that would be a perfect starting point. We then laid out some foil, yellow cardboard, scissors, red cellophane and sticky tape.


The main goal of today's craft activity was to help take the kids on an imaginative journey to space so I wasn't too worried about making perfect, long-lasting rocket ships. The kids needed a little help wrapping the shoe boxes in foil and making the cone to stick on top. They were able to cut the cellophane strips on their own and stick them on the box (with the occasional need for me to help with the sticky tape dispenser). I was impressed with their efforts. See the pics below.


We gathered together all the lego people we could find, made a door in the space ship for them and then spent a good hour whizzing around the room to some space like music playing on the dvd player. We also covered some different sized balls with foil so we had specific planets for the lego people to visit - Mars, Jupiter and Venus.


For gymnastics they wore their spiderman and supergirl dress ups and made the switch from astronauts to superheroes. After much fun at gymnastics we came home and rested a little. After that, the kids decided they wanted to be pirates. I'll tell you all about our craft treasure chest and pirate adventures in my next blog.

Sunday, 25 March 2012

Salt dough sculpting

We had some friends in Sydney for the weekend visiting from Port Macquarie which provided a good excuse for a catch up with a bunch of us, including eight little people (five boys and three girls all under six years old). Just before our guests arrived, Jasmine and Alex helped me make three batches of salt dough - pink, green and yellow. Our usual play-dough technique is to follow the directions on the cream of tartar container ie. add salt, flour, water, oil and cream of tartar in a saucepan on the stove. However, this time we wanted to make a dough that we could sculpt and then bake in the oven and decorate our garden pots. So, we used the following ingredients in a mixing bowl (x3 bowls):
  • 2 cups plain flour,
  • 1 cup salt,
  • 1 cup tepid water,
  • food colouring.
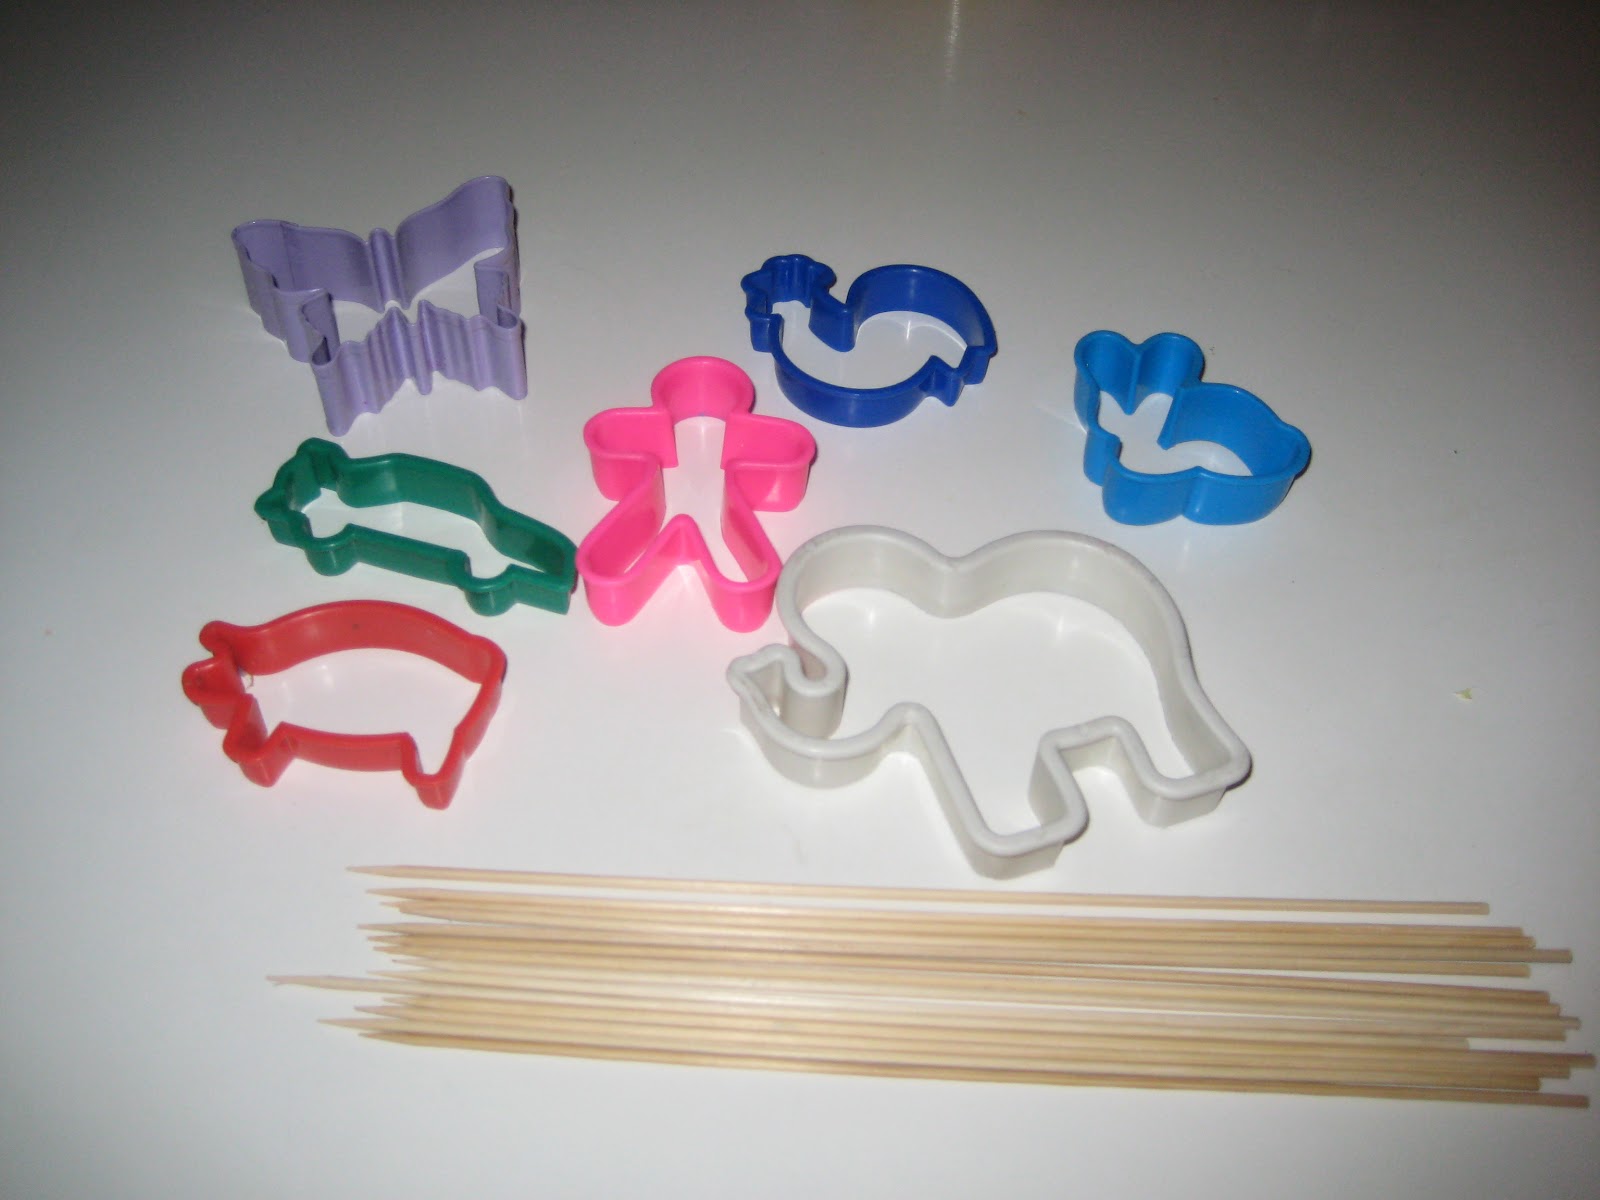
Once our guests arrived we brought out some animal cut-out shapes and some skewers and all started making shapes. We poked holes in the bottom of each dough shape with a skewer as we planned to insert them on a skewer after baking them so they would sit nicely in a flower pot.


Alex and Jasmine often have fun with play-dough. They love using the rolling pin, making shapes with their animal cut-outs, moulding, creating or just squishing their fingers in the soft dough. The thought of baking their creations in the oven, however, seemed to add to everyone's excitement. I waited until after everyone had left and my kids had gone to bed to bake the cut-outs. It took about 2 hours in a low oven - 120 degrees for them to harden and completely dry out.

First thing the next morning after breakfast, Alex and Jasmine inspected their shapes. They were quite pleased with them, though I must say I would have preferred more vibrant colours. For a change, I thought we should have added more food colouring to the mixture. Usually I am begging the children to use the food colouring sparingly and not coat themselves in the stuff. We stuck skewers into the holes that we had made before baking, adding a little craft glue to secure them.

We then gave each animal a coat of different shades of glitter glue to add an extra sparkle. We could have used paint, varnish or gems but decided that a simple bit of glitter was enough this time.


With the left over dough, the kids took much delight in baking a cake with decorations from the garden!


Wednesday, 21 March 2012

Mosaic buttons

I have always been obsessed with mosaic creations of all kinds. I love the mix of colour and texture. When I see mosaic images I think of Gaudi and Spain and all my memories of travel in Barcelona come back - the beautiful sounds of people speaking spanish, sunny walks in Park Guell, vibrant markets, amazing architecture shopping etc.

I have a bag of tiles in my shed waiting for the right time to embark on a mosaic creation for our garden. In the meantime, Jasmine and I decided to make some mini mosaic canvases to decorate the mantlepiece. Tiles are hard to cut for little people and need a great deal of assistance and supervision from an adult so we decided to use buttons instead. We prepared the canvases first by giving them a couple of coats of craft paint. We then tipped some craft glue into a cup and rummaged through our collection of buttons to pick out a range of hues and sizes. We decided to use animal cut-outs to help with our design.


You can see in the pics below that for the blue canvas Jasmine traced the fish cut-out and stuck buttons directly onto the canvas. I like the end result even though it is tricky to see the exact outline of the fish. For the green and pink canvas we decided to stick the buttons on the cut out itself. This seems to give a sharper result. Both work though.


And here is a Gaudi image for future inspiration!

Tuesday, 20 March 2012

Foil wrapping Christo style

Chatting to another mum at the kids' gymnastics class the other day, we agreed that it is often the really simple activities that kids love the most. The kids were wearing fireman helmets at the time and were following an obstacle course with mega-grins on their faces. How does this relate to art and craft? Well I asked what craft activities she finds successful with her four girls. My girls are funny she says, they love wrapping things in foil. How cool I said ... and recalled Christo and Jeanne-Claude's amazing massive wrapped artworks. See two of Christo's exhibits below.


While I admire Christo's dedication to such grand artistic expression, the kids and I stuck to a much simpler wrapping activity after dinner. We laid out two roles of aluminium foil - one each for Alex and Jasmine - and selected a range of differently shaped household items including shoes, teddy bears, jars, books etc.

Alex in particular thought it was great fun. We decided that, once we had finished wrapping everything, we would make their dad try and guess each item. "Don't look Dadda" they kept yelling into the kitchen as they madly wrapped and wrapped.