Monday, 7 May 2012

Coloured dye paper butterflies

At playgroup last Friday Kris showed the kids how to make coloured dye paper butterflies using kitchen paper towel and food colouring. To get started, put some food colouring into a paint pallette or muffin tray. You can use undiluted food colouring or diluted with water, depending how strong or bright you like your colours. Then take a square piece of kitchen towel and fold into a small triangle or square. Dip the folded paper towel into the different coloured dyes until the colour has seeped all over the paper.


Open up the paper and see what fabulous colourful arrangement awaits. The kids were mesmerised by the process, excited to see just how many different patterns and colour combinations they could make.


It was a little bit messy with the kids getting food colouring on their hands. However, the colour washes off with soap for the most part. Anything that doesn't come off straight away ought to wash off in a bath or shower. We laid out a large plastic table cloth and another large plastic sheet on the floor so the kids could put their coloured sheets down to dry. On a warm day, it takes 2 to 3 hours for the papers to dry. Once dry, you can fold the paper like an accordian, and together with a wooden peg, some fluffy balls, googly eyes and glue you can make a butterfly. See below for how this is done.

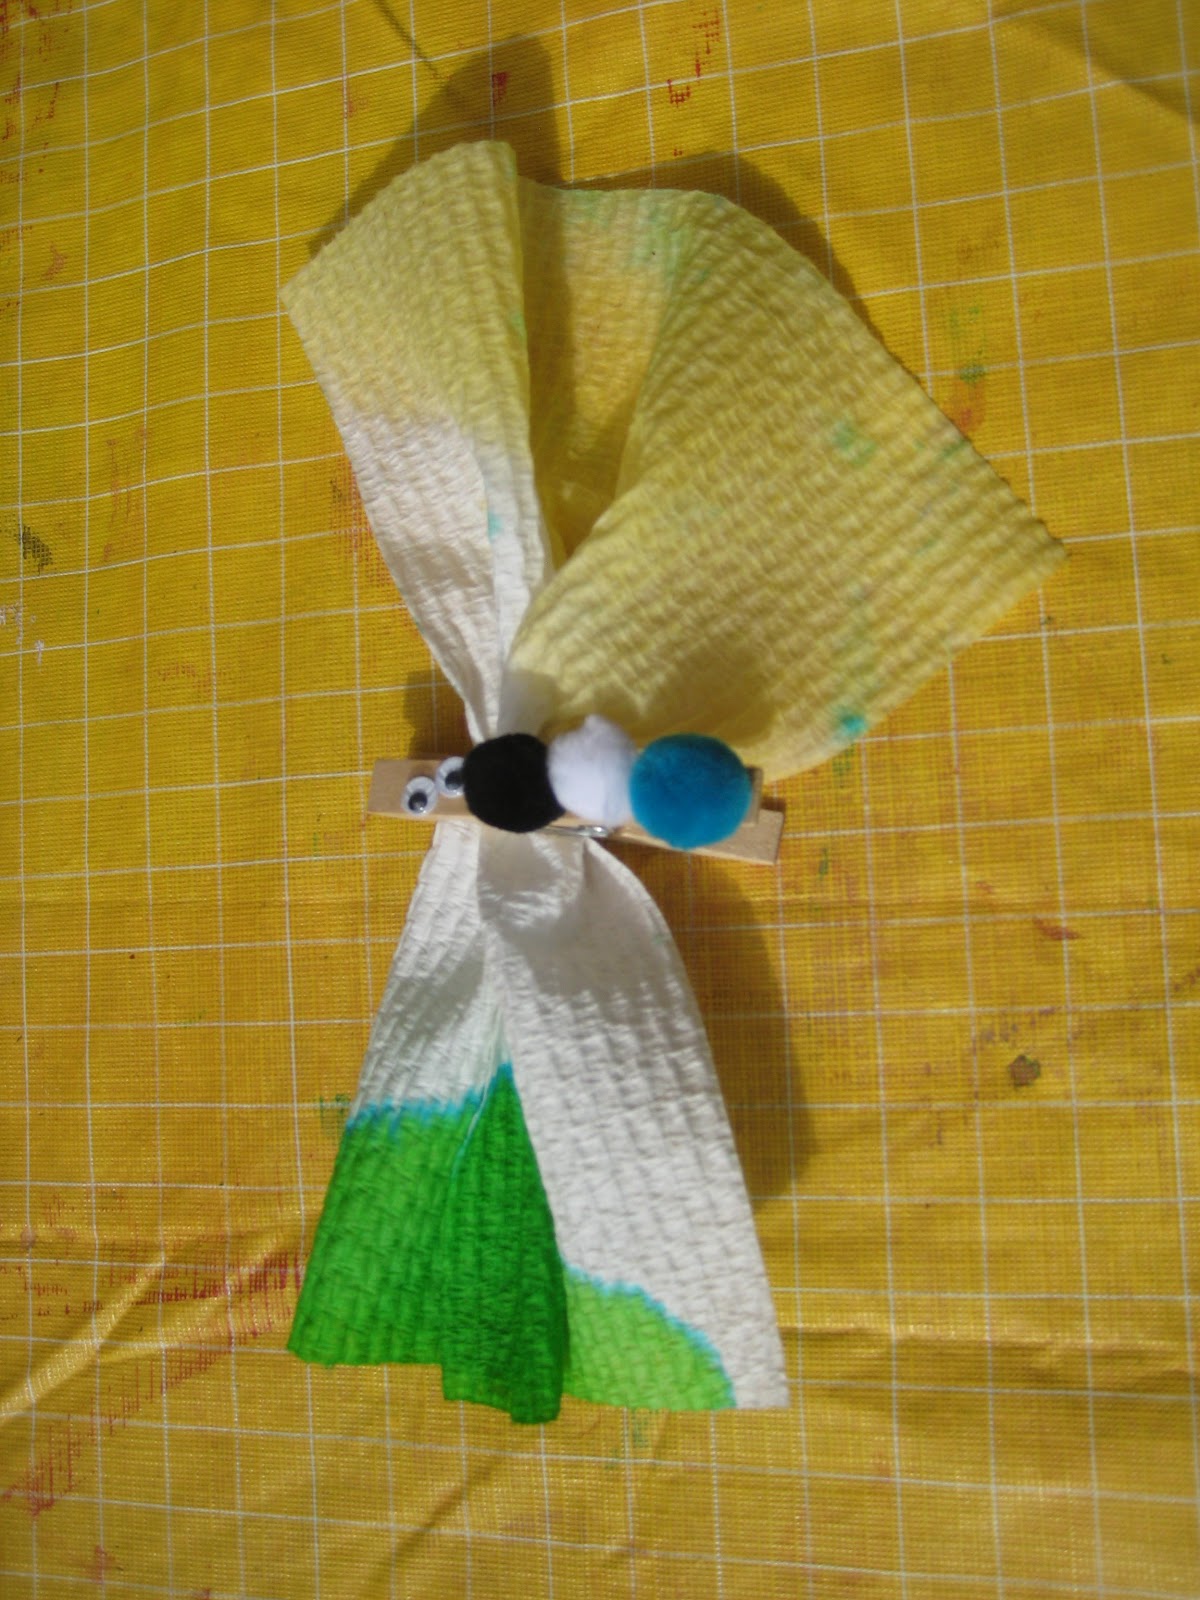

You could probably try turning your coloured papers into other animals or fairies. We hung up remaining papers in our living room with pegs and ribbon. They look bright and cheerful as you walk in the room. They'd make a great party decoration. Especially if you were to have a rainbow themed party.


Wednesday, 2 May 2012

Funny photo dress ups


I don't know why in this modern age of digital photography I still manage to have an abundance of unused print outs of photos lying around my house. I seem to print out photos with the aim of putting them in an album and / or sending them to family and friends but then get side tracked and end up "temporarily" putting the photos aside in a box. At least the kids and I enjoy looking through my box of photos and talking about where we've been and what the kids were like as little babies.

One night after dinner we were rummaging through old photos when we decided it would be fun to cut out some faces and re-dress them with the paper dresses from an activity set Jasmine was given. Below is the original magnetic dress up kit. It had been a fun activity for Jasmine but she was happy to use it for something new.


Jasmine and Alex helped cut out familiar faces of me, their dad, Mimi, Poppy and friends. They then selected what outfits each person would wear and glued them on A3 sheets.


The pictures look great on their playroom wall. It's too funny seeing Poppy in a pink sparkly dress. And it's been an awfully long time since I slipped on a long purple formal dress!

Friday, 27 April 2012

Jack-in-the-box photo display

Today we met for our art and craft playgroup. In preparation for today's acivity I had kept some old cardboard boxes aside and gave them a couple of coats of different coloured paints. Now it was up to the kids to decorate them with glue and an assortment of craft bits and pieces. We had stickers, buttons, feathers, ridged carboard shapes, flowers, shells and coloured sticks. These were bought from Spotlight and Eckersley's stores.

It was fun for the kids to play around with colours and design. It was interesting to see the craft bits some kids were drawn to over others. The star stickers and cardboard shapes were popular with Alex and Tom.

See some pics below for the results. I put holes in a couple of the box lids so they could be used for money boxes. The other boxes could be great when presenting gifts to friends and family rather than using wrapping paper. Or of course the kids could store all sorts of trinkets in them.


Later in the afternoon, Jasmine and I decided to stick some photos on the left over box so she could have a photo box to show her friends. Rather than just storing the photos in the box in a pile we decided to make a jack-in-the-box style photo display. When you open the box lid you see a fabulous long strip of photos. To make this, cut a strip of cardboard and fold it like an accordian. I used sticky tape and glue to stick the photos onto the lid and the base of the box. I stuck the photos on with glue. Alex thought this was a good idea so we made one for him too.


Wednesday, 25 April 2012

Rainbow inspired art and craft


To celebrate our new rainbow wall mural, the kids and I have been spending time reading about rainbows, talking about what makes a rainbow and creating rainbow inspired crafts. See below for what we've been up to.

We made a rainbow coloured letter box so Alex and Jasmine can draw pictures for each other, post them in their letter box and then come back and open them. We used an old cardboard gift box. We painted each side a different colour - blue, red, yellow and purple. I used a sharp knife to cut out a whole in one of the sides, just large enough to fit a folded letter.

Next we stuck some old plastic letters on the box that we had lying around the house. They were magnets once upon a time. We thought letters were very appropriate things to stick on a LETTER box.


We also made rainbow lollipop cookies,  
using our standard, basic cookie dough recipe:

125g unsalted butter, at room temperature
1/2 cup caster sugar
1 tsp vanilla essence
1 egg
3/4 cup plain flour
3/4 cup self-raising flour

Beat butter, sugar and vanilla with electric mixer. Beat in egg. Add combined sifted flours. Sir until mixture firms a dough.


Separate the mixture into four batches and add food colouring. Then knead the coloured dough and form into small balls. Lay on baking paper on a tray and bake in a moderately slow oven (160c) for about 20 minutes.

The kids always love mixing food colouring. This activity was even better in their view as they could make a mess and eat it too!


We also made a finger print rainbow using food colouring.


We highly recommend the book "A Rainbow of My Own" by Don Freeman. It is full of wonderful things you could make with a rainbow such as a swing or hammock.


Rainbows are so bright and cheerful. You can't help but feel happy looking at one!


Sunday, 22 April 2012

Our beautiful rainbow wall mural


We love our new rainbow mural so much we just had to share some pics. I wish I could paint a mural on my kids' bedroom wall but there is no way I could guarantee a result they would be happy with. Kids can be seriously tough critics! So I called upon my aunt, Di, to save the day. Our only request was for a rainbow. The rest we left up to Di.

It took a few weeks to complete the mural. Di began by drawing the design in pencil on the wall. She then used a liquid masking fluid around the images to keep them clean while she painted on the background colours - sky and grass. I bought wall paint from Bunnings for the background colours and tree. Di used acrylic paints for the rest.


The two children were the trickiest part I believe but Di has amazing patience and incredible attention to detail. The other tricky thing is trying to stop the kids from touching all the images and making them dirty. We decided to put a few layers of varnish on the images within the kids' reach to help keep them looking good for longer.


How lucky are my kids?! Although I must say, it's not just the kids who are lucky. I love wandering past their room and soaking up the cheerful view.

Friday, 20 April 2012

Pasta craftivities


I was at the supermarket with my kids when I mentioned we should buy some more pasta to use in the afternoon for some craft time. It was pretty funny to have Alex tell me that pasta is for eating and not for playing with. It is true that pasta is one of my kids favourite meals. But pasta is also great for making pictures. We used it raw and plain this time but may try and paint it another day or cook it and mix it with paint and see what patterns we can make.

For this activity we laid out out three pieces of cardboard, a marker pen, some bowls containing different pasta varieties, craft glue and paint brushes to apply the glue. The kids helped design a city with people and butterflies and glue on the pasta.

Then Jasmine requested that I draw a mermaid outline for her.  She also wanted to mix feathers with her pasta.


Alex felt inspired to use googley eyes with his pasta. So, I drew a few different shapes for him and left him to stick on the pasta and make funny creatures.


Have a look at the Spaghetti Worm Painting over at The Chocolate Muffin Tree -
http://www.thechocolatemuffintree.com/2011/05/spaghetti-worm-painting.html
How fun does that look!

And how about this deep red pasta heart for Valentine's Day made by Mom to 2 Posh Lil Divas:
http://www.momto2poshlildivas.com/2012/01/valentine-craft-colored-pasta-wagon.html

I love this noodle train too:
http://www.chicagoparent.com/crafts/noodle-train

There are so many fun things to do with pasta ... if only one had more time!

Wednesday, 18 April 2012

Remember Shrinky Dinks?


I recall being seriously excited when I was first introduced to Shrinky Dinks as a kid. I don't know what it is that makes them so much fun but I guess there's something magical about the concept of shrinking things in the oven. For our first project, we decided to make a chain of coloured hearts to hang in our play room. We traced around a heart stencil with a permanent marker and then cut out the hearts. It was a bit tricky for the kids so I did most of the tracing and cutting. The kids helped me lay out the hearts on trays. Don't forget to punch a hole in the hearts before they go in the oven so you have the option of hanging them up with string.


We all watched them shrink in the oven. It took about three minutes. I wrote the names of different colours on the hearts but the kids suggested that next time maybe it would be better to write their names instead.

For our second project, we used the pre-designed images. The kids had fun colouring in the images with coloured pencils and thinking about what key rings and jewellery they could make once baked in the oven.

I discovered that you need to keep a close eye on the oven while they cook. It is best to take them out quickly to avoid the images curling up on themselves.


We made key rings for their preschool bags and Jasmine made a necklace with a combination of beads and a selection of Shrinky Dinks. In terms of materials for this activity, all you need is:
  • Shrinky Dinks paper
  • scissors
  • permanent marker
  • hole puncher
  • coloured pencils
  • string if you want to hang anything up (there are some decorative strings at Eckersley and Riot stores), and
  • an oven of course!
I tried to find Shrinky Dinks in my local toy stores but didn't have any luck. I managed to find some online but the postage from the USA seemed extraordinarily high. Then thanks to eBay I found both Shrinky Dink plain coloured sheets for designing one's own pictures and some pre-designed images for the kids. For six Shrinky Dink coloured sheets it cost $15 including postage. One box of pre-designed images also cost $15 including postage. In the box of pre-designed images there were three or four trays of images plus some beads, string, clips and a chain to help make jewellery and othe decorations. Yay for eBay!