Sunday, 29 September 2013

Home made headbands


We had an old white headband at home that needed some brightening up so I bought a bunch of synthetic flowers from Spotlight. Having a bunch of flowers meant we could also add a bit of colour to some plain old hair elastics. We made the following.

1. Jasmine twisted two white flowers onto the white fabric covered plastic headband. Simple but pretty!


2. I sewed some flowers onto a piece of elastic so Jasmine could have a second softer headband. Fancy!


3. Lastly, I sewed some flowers onto simple hair elastics to add a little touch of Spring.


Sunday, 22 September 2013

Hand made cuff bracelets

I love receiving regular blog posts from Happy Hooligans and seeing all the creative projects they get up to. They recently made duct tape cuff bracelets which look fabulous, starting with toilet paper rolls. I knew my kids and I just had to give these a try. I bought some rainbow duct tape from Woolworths and also used Quicksticks silver tape and left over washi tape from our craft cupboard.

Basically you just cut a line through the toilet roll and then apply the tape. You can do as many layers as you like but I think one or two is sufficient.


Take a look what we made:


Oh and while we had the tape out we made some coloured telescopes too.


Monday, 16 September 2013

Fairy garden

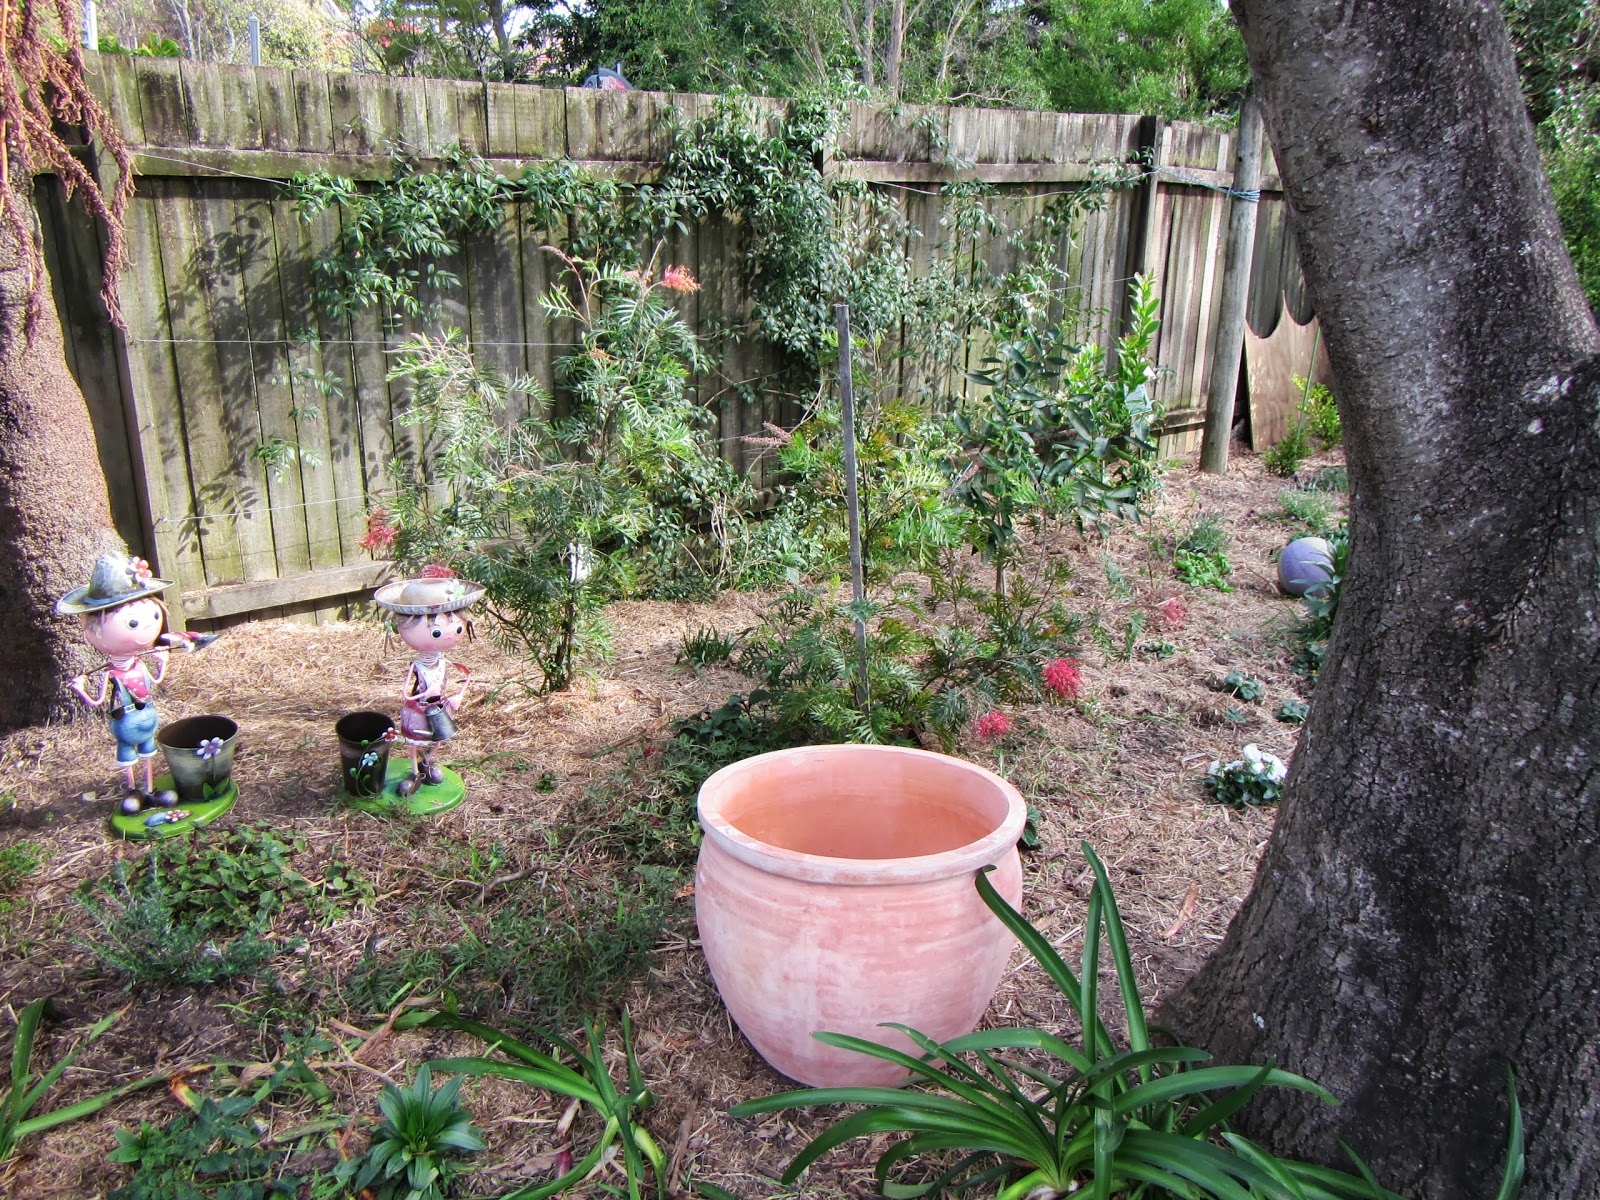
Spring arrived very early in Sydney this year with two or three weeks of beautiful warm weather. It even climbed up to 30 degrees celsius for a couple of days. As as result, Jasmine and I were inspired to plant some flowers and create our very own fairy garden.

First we started out buying a large terracotta pot.


And a selection of plants.


We also bought some soil and sugar cane mulch. Because we used such a large, deep pot, we first added one third a bag of mulch before pouring in the soil.


Jasmine planted the flowers. We used an old plastic bowl and filled it with water so our fairies could have a pond to enjoy.


We bought two fairies, a bench and some painted toadstools online from "My Little Fairy Garden" - http://mylittlefairygarden.com.au/.


We also added some different coloured pebbles from Bunnings.


We love our pretty new fairy garden. It seems so tranquil yet bright. Introducing Lavendar Fairy ...

and Candytuft fairy ...


Now we just have to make sure our cheeky dogs don't get any ideas about messing up our creation!

Monday, 9 September 2013

Butterfly footprints

I had a fun time browsing Pinterest on my phone the other day while watching the kids at the park. I spotted a few activities we'll have to do for sure. One of them was butterfly footprints. Jasmine thought this was a great idea too. You don't need many materials - just some paper, a texta, paint and some feet. We also found a drop sheet useful to avoid footprints all over the floor!


First I drew the butterfly body with a black texta. Next I painted Jasmine's foot. One foot at a time was easiest for us.


Jasmine then touched up the picture and used black paint on the body.


We made a few prints. We got better at the process on the third try! I think these pictures would look fabulous framed or they could make fun greeting cards.

Friday, 6 September 2013

Rainbow sand in a jar


When I was in primary school I remember my dad went on a business trip to some desert location and came back with a small jar of different coloured sands. I thought this was the coollest thing ever and kept it on display in my bedroom for years.

With this in mind, I helped the kids make rainbow sand in a jar. We used the following materials:

  • jars
  • sand
  • food colouring
  • spoons
  • plastic sandwich bags.
It's pretty easy to make the coloured sand. Just scoop a few spoonfuls of sand into a plastic bag. Add between 5 and 10 drops of food colouring. Seal the bag then shake it or massage it until all the sand changes colour.

We made four bags of different coloured sand - blue, green, red and yellow.


To finish off, scoop the coloured sand into your jar and enjoy!


Thursday, 29 August 2013

Bookmarks

Now that we're reading longer more involved books before bedtime we are in need of some bookmarks to make sure we don't forget where we get up to each night.

Using powerpoint I made some rectangles using the "drawing" tool and then sat with the kids and chose some different clip art to insert. 


We printed and cut out the rectangular bookmarks. The kids coloured them in with textas.


We had so much fun doing this we decided to make some extras for friends at school to colour in themselves.


And come to think of it, a home made bookmark could be something to give dad for father's day, which is just around the corner.

Wednesday, 21 August 2013

Homemade wrapping paper ideas

We have a few gifts to wrap for special occasions coming up in August and September so we've been busy thinking of ways to create economic and attractive wrapping paper. We tried a few different techniques, starting with brown paper then using the following materials:

  • scissors, 
  • coloured paper, 
  • an old map, 
  • texta and 
  • ribbons.


I like the letter cut outs, especially the ones made from an old map. I think they look great, contrasting on the plain brown paper.


I also like paper cut outs using the popular paper snow flake technique.


If you are looking for more fabulous ideas next time you have a present to wrap I strongly recommend you check out the site below:

http://www.buzzfeed.com/alannaokun/24-cute-and-incredibly-useful-gift-wrap-diys