Thursday, 28 March 2013

Happy Easter everyone

The kids had an Easter hat parade at school today. It was also grandparents day so the kids had the opportunity to show off their classrooms to all the grandparents. Thanks to their grandmother's crafty talents they looked seriously cute! Check out their hats below. Alex's top hat is made of shiny black cardboard with plastic eggs arranged with sticky tape.


Jasmine's pink fluffy number began as a plain white straw hat. It is covered with fabric, feathers and decorative craft eggs.


I hope everyone has a fun long weekend filled with friends and family. And chocolate of course!

Friday, 22 March 2013

Making your own children's book


Jasmine and I discovered a creative and enjoyable way to spend time while travelling or sitting in a doctor's waiting room. We decided to write and illustrate our own children's book. It's a particularly fabulous activity because all you need are some colouring pencils, a notepad and your creativity.


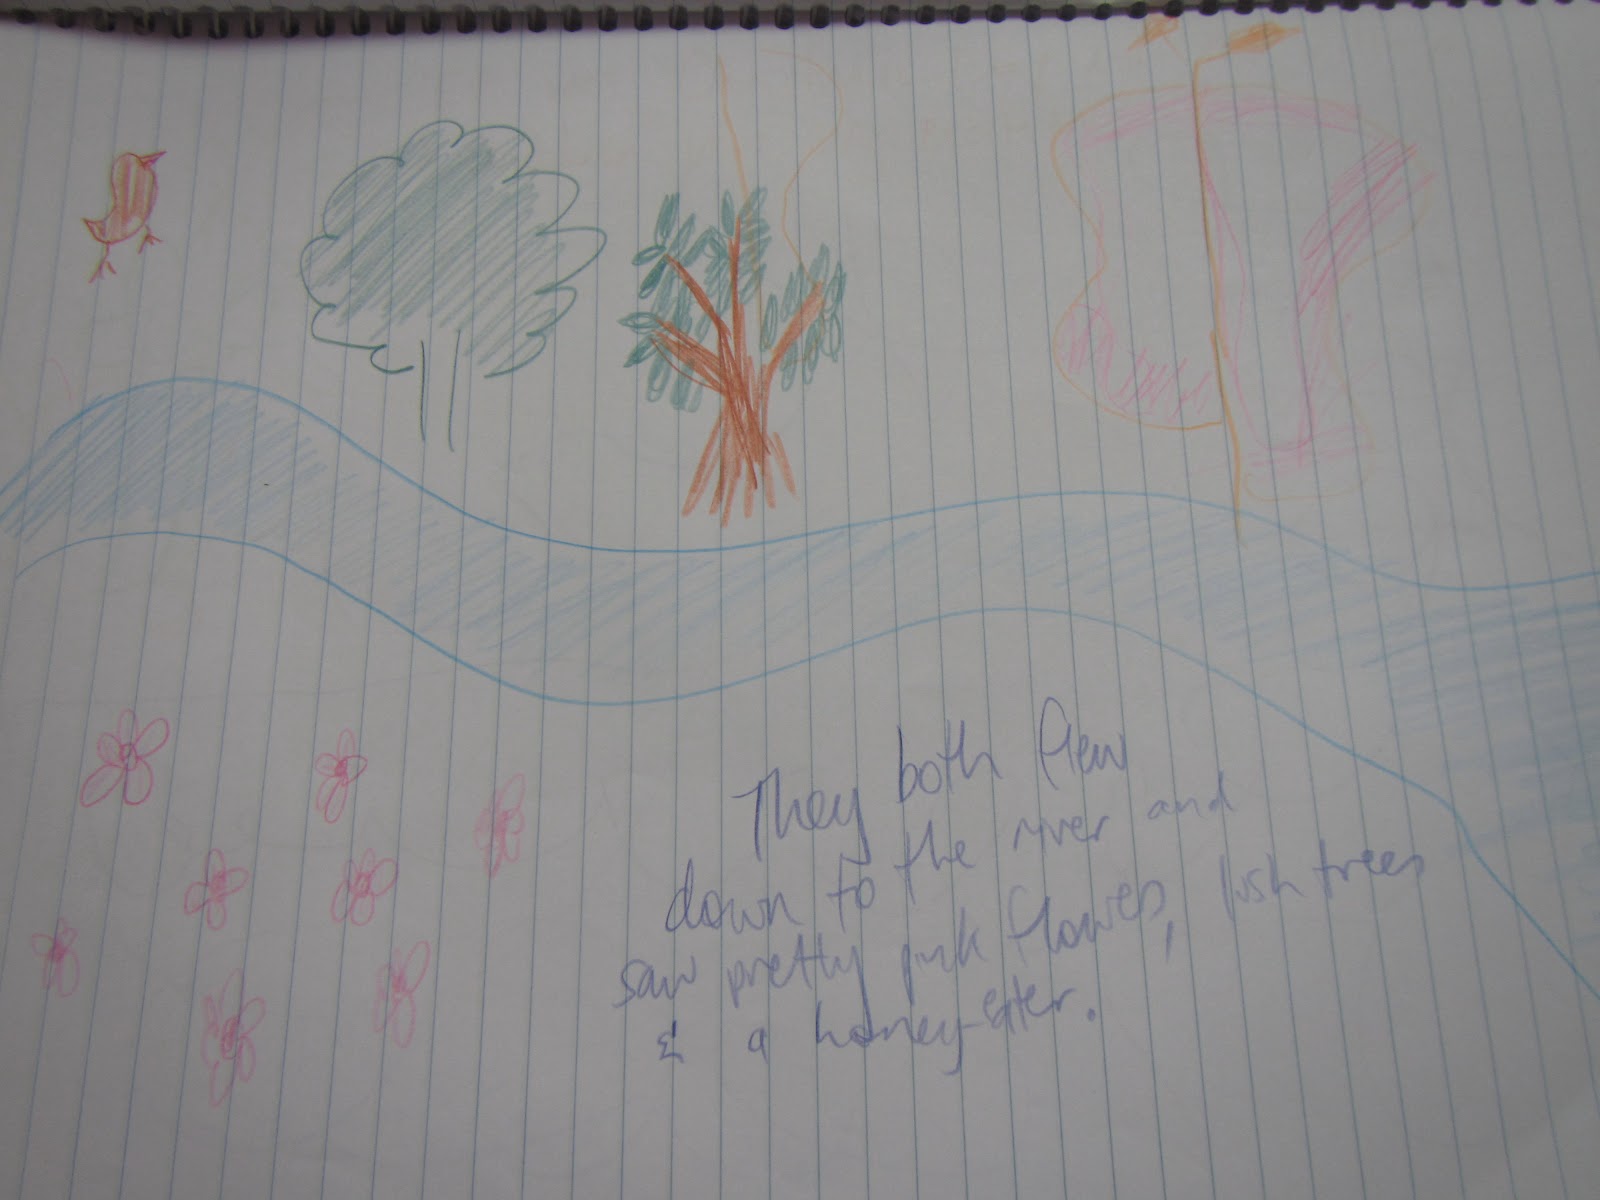
Jasmine did the story telling and drawing and I wrote it down. See her story and a few illustrations below.

There once was a butterfly called Claudia that could fly whenever she wanted. Her middle name was Jasmine. She loved to fly.


She had a baby butterfly.

She visited a friend.

They both flew down to the river and saw pretty pink flowers, lush trees and a honey-eater.


It was Christmas Day and the village children were very excited.

It was a sunny day. It was a swirly day. The kids played in their tee-pee.

At night, the village sparkled from all the Christmas lights and decorations. It was a lovely view.


Friday, 15 March 2013

Easter egg crafts

I've never dyed eggs for Easter before. I'm usually too busy eating chocolate eggs to think of other non-chocolate options. However, Jasmine and Alex were keen to make some coloured eggs this year.

We used fresh eggs and natural food dyes from the supermarket. I thought the natural food dyes would be better when it came to eating the eggs. However, the colour in these dyes wasn't vibrant enough. We were a bit disappointed with the end result.

We still enjoyed the activity though. We boiled the eggs for 12 minutes. While they were cooling we prepared bowls of different coloured water - red, green and yellow. We had to use several teaspoons of food dye to make sure the egg shells would absorb the colour.


We tied string around a couple of the eggs prior to dying them. We dunked the eggs in the dye for a few minutes. Once dry, we removed the string so that an interesting pattern remained.


For the other eggs, we jazzed them up with stickers.


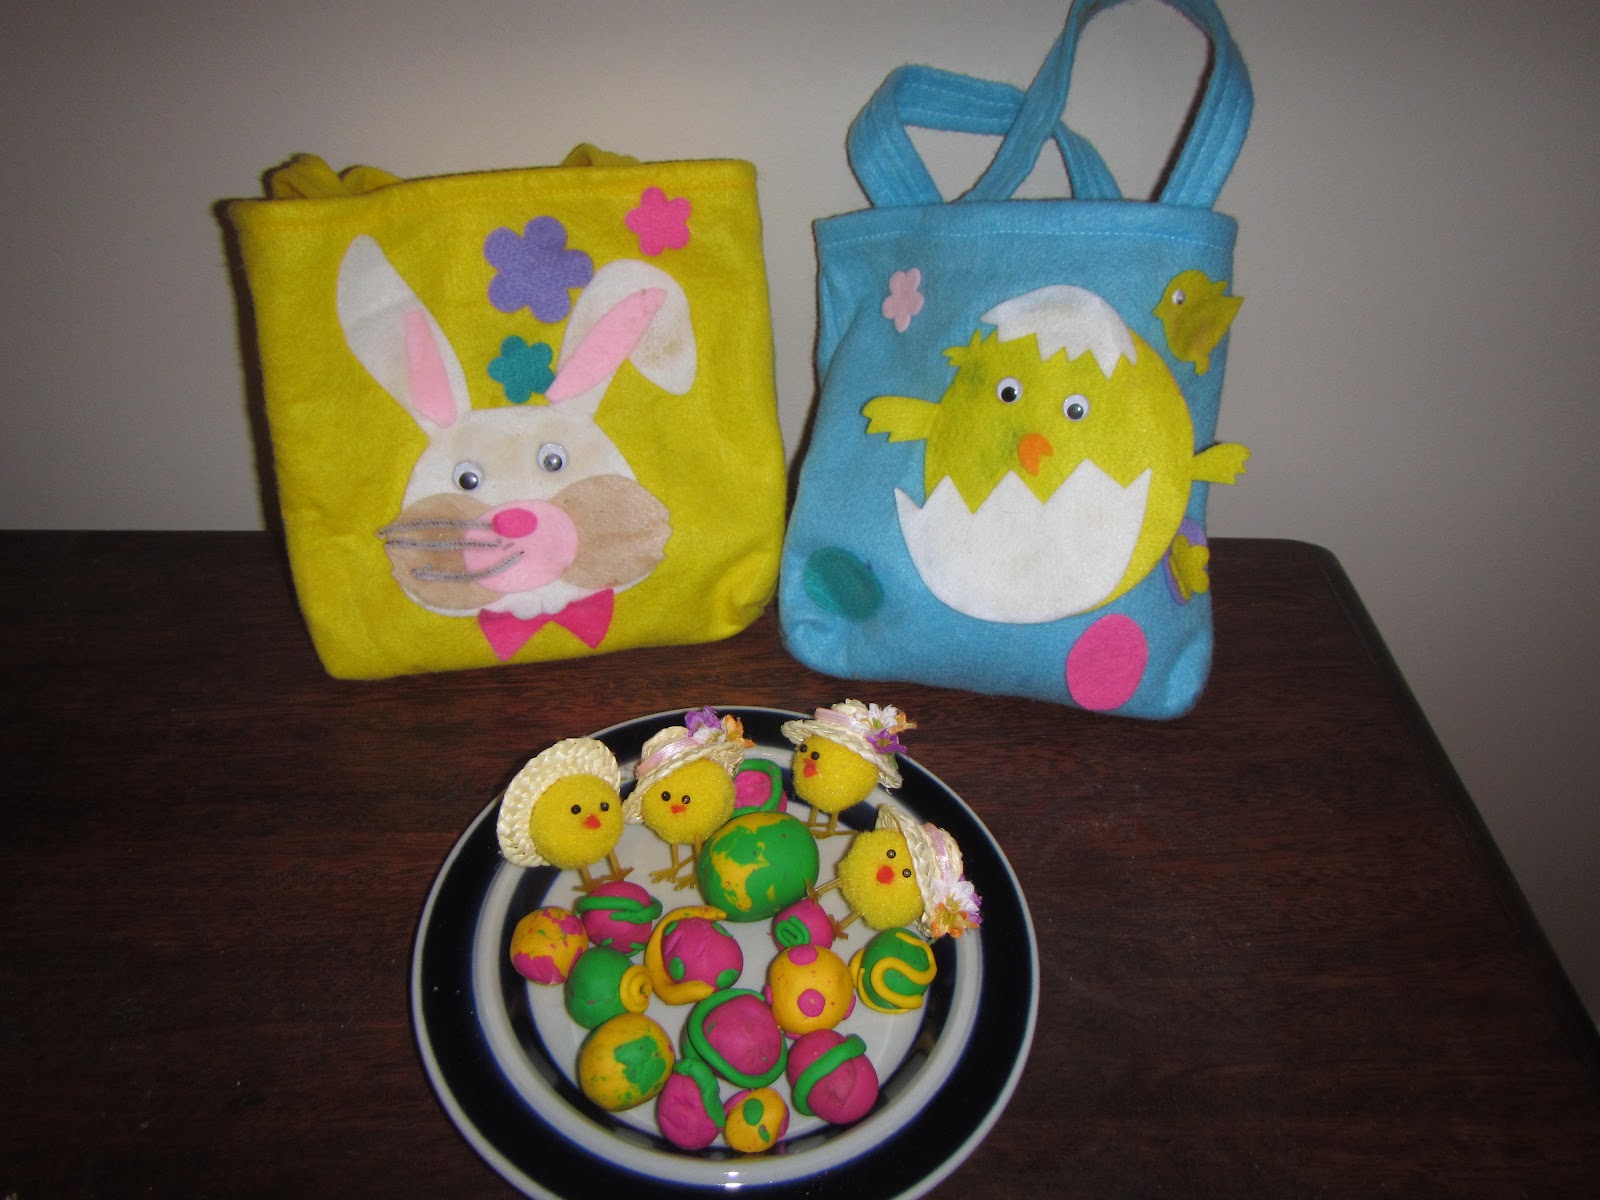
We decided to make some FIMO clay eggs too. We used "FIMO soft oven hardening modelling clay" but to tell you the truth it wasn't particularly "soft". We really had to knead the clay and warm it in our hands before we could mould it.


We made a few different patterns then put them in the oven at 110 degrees celsius for 30 minutes.


We put them on display on our sideboard together with the felt bags the kids had made last year. They are cheerful to look at and the kids enjoy hiding them around the living room and going on easter egg hunt after easter egg hunt ...


Wednesday, 6 March 2013

Paper mache Easter egg basket


For Easter this year, we decided to make paper mache baskets. Afterall it is always important to make sure you have something to collect your chocolate Easter eggs! There is nothing worse than trying to hoard a bunch of chocolate eggs in your hands, under your chin or in your pockets and then finding them all squashed and sticky.

We used the following materials:
  • Newspaper
  • Flour
  • Water
  • Liquid glue
  • Balloon
  • Paint
  • Ribbon
  • Stickers
It takes a few days to make the baskets so you will need a space set aside for the activity. Follow the steps below and have fun.

Step 1: Blow up a balloon and place in a bowl. Prepare to make your paper mache by tearing newspaper into strips.


Step 2: To make the paper mache paste, mix some flour and water together with a bit of liquid glue. I didn't measure my flour and water but instead just mixed until I had a decent consistency for sticking the paper onto the balloon. It was roughly one third flour to one third water and a couple of squirts of glue.


Step 3: Put two layers of paper over half of the balloon and leave to dry overnight. You will need to repeat this step a few times to make sure the paper basket is sturdy.


Step 4: For your final paper mache layer, use plain white paper instead of newspaper as this will provide an easier, cleaner surface to paint.

    Step 5: Cut the balloon and remove it.


     Step 6: Paint it, inside and out. You can add stickers or decorate as you wish.


     Step 7: Attach a ribbon to make it easier to carry. I used a stapler to attach the ribbon.


Sunday, 3 March 2013

Candle making using the microwave

We're a bit obsessed with scented candles in my household at the moment. We ordered supplies from All Australian Candle Making Supplies and Kits. The prices are reasonable and they only took a couple of days to arrive. I was impressed with their efficiency. I love the sweet smell of candles, especially with all the rain and wet dog smells wafting around. We really enjoyed being able to create our own candles. Using the microwave made it all very easy.


We used the following materials to make our candles:
  • soy candle wax
  • coloured candle dye
  • wicks
  • pegs
  • glass jars and silicone mould
  • essential oils - (1) lavender and (2) apple with cinnamon
  • microwave safe bowl and spoon
  • microwave.

The candle dyes come as wax cubes that look like squares of chocolate.


In order to get a smooth colour and consistency, I recommend you shave the coloured cubes with scissors or a knife. Then add the colour to a bowl of wax and put in the microwave. It is very important to melt the wax slowly. I started by putting 500g of wax in the microwave for 2 minutes. I took it out and gave it a stir, then put it back for another 30 seconds, stirred again and put back for another 30 seconds.


While the wax is melting, prepare your moulds or glasses. You need to put a wick in every candle. Keep the wicks in place using pegs. See the photo below.


Once you have a super smooth consistency in your melted wax, it is ready to pour into your moulds. We made some plain white candles scented with lavender.


And some red heart candles scented with apple and cinnamon.


Lastly we made yellow stars. We didn't have any other essential oils but being big fans of vanilla decided to try pure vanilla essence. It worked ok but I found the smell wasn't as strong as an essential oil. The candles looked hard after a few hours but resist touching them until at least 12 hours as they need this time to fully harden up. The kids couldn't resist so if you look closely you will see some finger prints in some of our candles.


To any extent they look very pretty and will make lovely additions to our kitchen or perhaps we could give some away as presents (assuming the children will let me do this).


Monday, 25 February 2013

Watercolour cards

Jasmine and I made watercolour cards. I was inspired by an activity I saw on Grow Creative blog - striped heart watercolour tutorial. I follow Elise's blog regularly. She is very talented with her use of watercolours. I recommend you check out her blog tutorial. Jasmine and I are beginners when it comes to watercolours. However, we had fun experimenting and are pretty pleased with what we created.


As Elise suggested, we first outlined our shape on a sheet of thick white paper. We drew our hearts free-hand but traced around bought cardboard cut-outs for our cloud and flower. I made stripes across the shapes using a ruler. Jasmine and I then used paint brushes dipped in water to apply the watercolours to each stripe.


When the paint had dried we cut out the shapes. We wrote a birthday message on one of the hearts.


Wednesday, 20 February 2013

Styrofoam sculptures and prints


When I found myself with a bunch of styrofoam packaging left over from some new piece of equipment my husband purchased for the garden, I remembered a great post I had seen over at The Artful Parent. They made styrofoam scupltures. We decided to do something similar. We used:
  • broken pieces of styrofoam
  • colourful pipe cleaners
  • feathers
  • glue
  • paint
  • toothpicks
  • wooden skewers
  • colourful paddle pop sticks


We had a great deal of fun twisting the pipe cleaners and experimenting with different coloured feathers and paint. We were hoping to make a super tall sculpture but we discovered that there is a definite technique required in making sure your sculpture doesn't tip over.


We also tried printing different patterns using the styrofoam and paint. We used a pencil to poke holes in the styrofoam and then covered the image with a layer of paint before impressing it on a clean piece of paper.