Wednesday, 18 April 2012

Remember Shrinky Dinks?


I recall being seriously excited when I was first introduced to Shrinky Dinks as a kid. I don't know what it is that makes them so much fun but I guess there's something magical about the concept of shrinking things in the oven. For our first project, we decided to make a chain of coloured hearts to hang in our play room. We traced around a heart stencil with a permanent marker and then cut out the hearts. It was a bit tricky for the kids so I did most of the tracing and cutting. The kids helped me lay out the hearts on trays. Don't forget to punch a hole in the hearts before they go in the oven so you have the option of hanging them up with string.


We all watched them shrink in the oven. It took about three minutes. I wrote the names of different colours on the hearts but the kids suggested that next time maybe it would be better to write their names instead.

For our second project, we used the pre-designed images. The kids had fun colouring in the images with coloured pencils and thinking about what key rings and jewellery they could make once baked in the oven.

I discovered that you need to keep a close eye on the oven while they cook. It is best to take them out quickly to avoid the images curling up on themselves.


We made key rings for their preschool bags and Jasmine made a necklace with a combination of beads and a selection of Shrinky Dinks. In terms of materials for this activity, all you need is:
  • Shrinky Dinks paper
  • scissors
  • permanent marker
  • hole puncher
  • coloured pencils
  • string if you want to hang anything up (there are some decorative strings at Eckersley and Riot stores), and
  • an oven of course!
I tried to find Shrinky Dinks in my local toy stores but didn't have any luck. I managed to find some online but the postage from the USA seemed extraordinarily high. Then thanks to eBay I found both Shrinky Dink plain coloured sheets for designing one's own pictures and some pre-designed images for the kids. For six Shrinky Dink coloured sheets it cost $15 including postage. One box of pre-designed images also cost $15 including postage. In the box of pre-designed images there were three or four trays of images plus some beads, string, clips and a chain to help make jewellery and othe decorations. Yay for eBay!

Saturday, 14 April 2012

Felt blankets - do you prefer flowers or monsters?


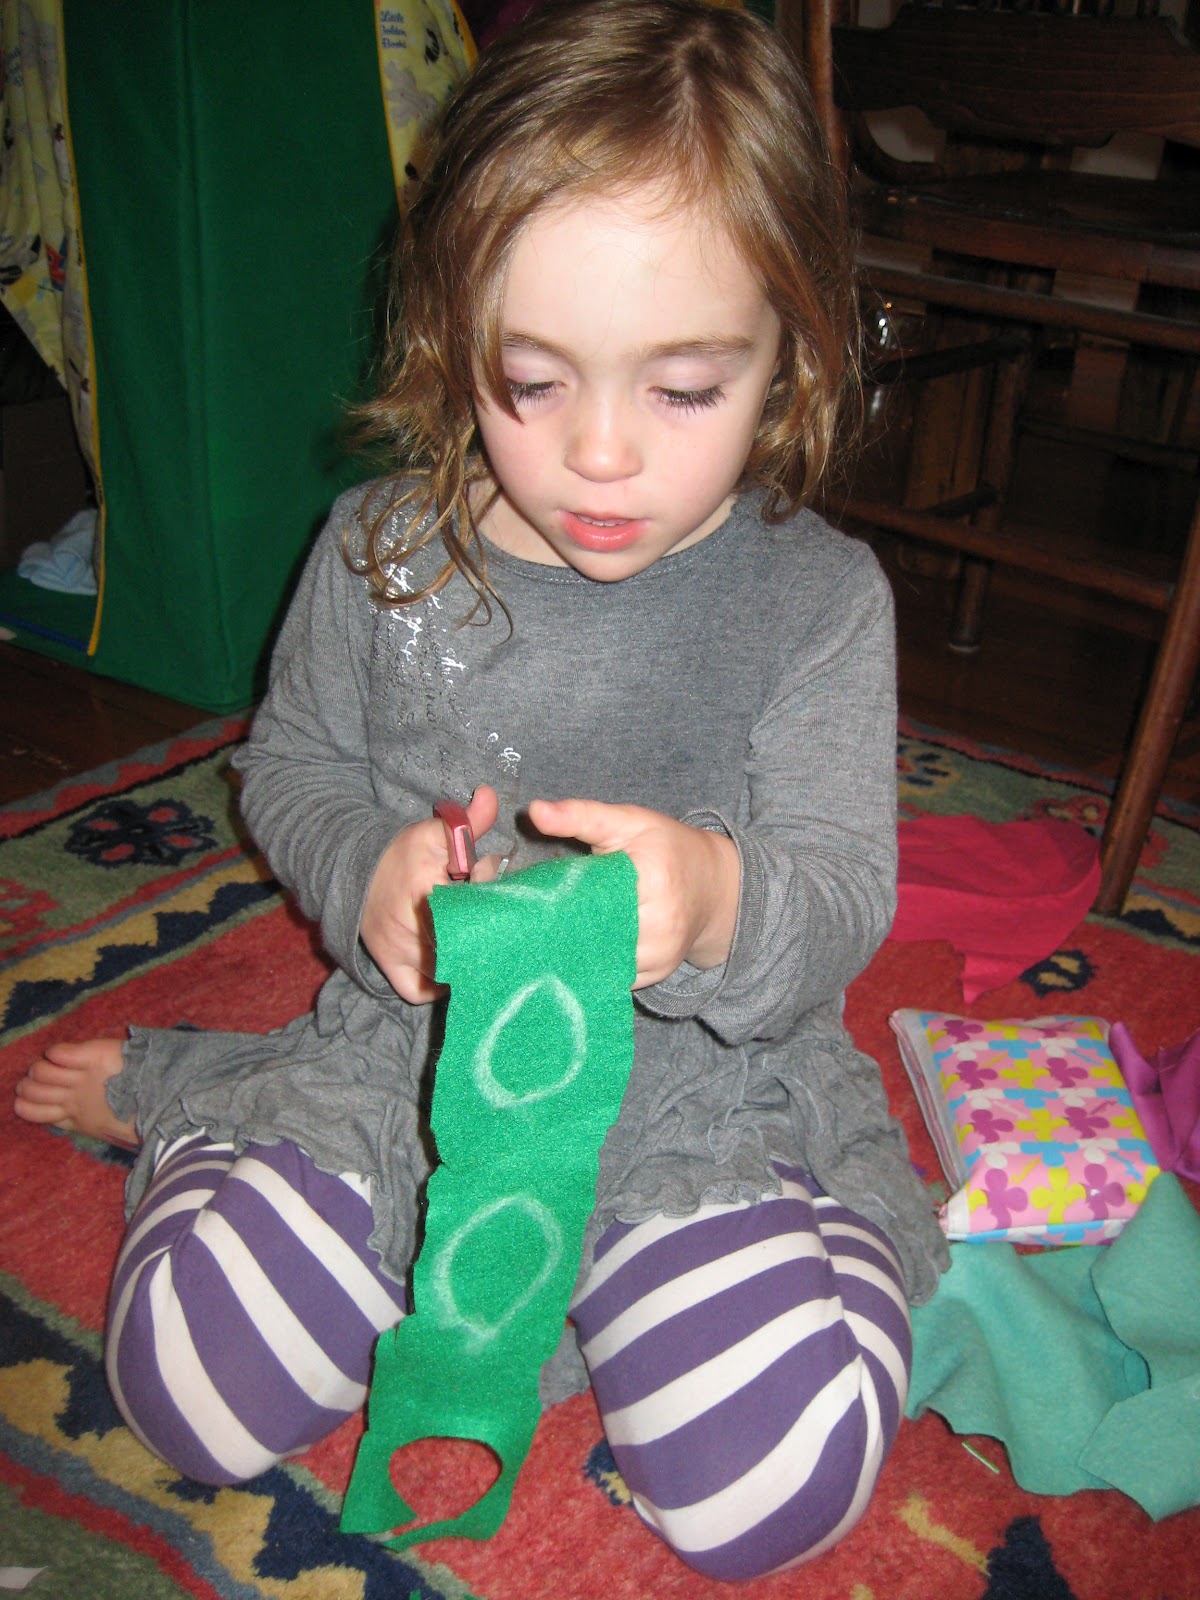
The kids and I decided it would be a fun idea to decorate some felt blankets to tuck their teddies and dolls into bed over the colder months. There were a number of positives to this activity. We have an abundance of felt and so it was a fab opportunity to use up some of it. Jasmine pretty much made her blanket all by herself including cutting the shapes, choosing the design and sticking them on.

You can probably guess that Jasmine preferred a floral design where as Alex preferred monsters. I am not saying flowers are for girls and monsters are for boys. I know my niece, Hebe, would definitely prefer monsters but in my household, the girls choose flowers when given the choice.

Alex asked me to design and cut out the monsters for his blanket but he was more than happy to offer advice on what colours to use, how many eyes the monster should have, what kind of mouth etc. He was helpful when it came to glueing time.

The only materials we used were: coloured felt pieces, scissors, clear craft glue and a paint brush for the glue. You can find felt at fabric stores such as Spotlight where you can buy metres of it, but I have also seen A4 sheets of coloured felt at art and craft stores such as Riot.

When planning the shapes we wanted to cut, I used chalk to draw the shape and then Jasmine could cut around the outline easily. The stronger craft glues are a little smelly but thankfully it was a warm day so we could have the back door and window open. I would recommend a stronger craft glue for longevity.


Monday, 9 April 2012

Special drawing notebooks for the car

Car trips can be a little stressful with kids as they wriggle and squirm, whinge about their sibling's choice of music or some other such crime - talking too much, hogging all the space, eating all the grapes etc etc.

So for our most recent trip we set about decorating some special notebooks so the kids would have something to look forward to using in the car with their crayons and pencils.

I bought two small hard-cover notebooks on sale at Riot http://www.riotstores.com.au/ and some sparkly stickers and ribbons. I have seen similar notebooks at my newsagency and at Myers.

Decorating the books was very easy. Jasmine and I laid out the ribbons and played around with different designs. Both of us then cut the ribbons so they would fit neatly across the width of the book and then stuck them on with our trusty clear craft glue and a paint brush. Jasmine put on the stickers.

I wrote Alex and Jasmine's names on the first page. Together with a small bag of pencils and crayons, the books kept the kids busy for the whole two hour trip. Brilliant!


I'd love to hear other people's ideas about how they would suggest covering a book with or for their kids. Or other ways to keep the peace in the car. Please keep in mind, I cannot sing!

Saturday, 7 April 2012

Experimenting with textured paint and patterned paper

I woke up this morning and decided that my blog needed a new look. So I fiddled with that and ended up replacing the green backdrop for a plainer white. Then the kids and I experimented with paint textures, colours and patterned paper. I really like the mix of colours and textures the kids came up with, and best of all we had a great deal of fun experimenting and getting messy.

First we squeezed some paint into our egg cartons and took some time to make different shades of colours. Alex liked the dark blue and dark red where as Jasmine preferred the lighter shades such as pale yellow. See some pictures below showing how we used the sponges, cloths and toothbrushes to create a lively background. We set aside the paintings to dry and then traced some animal shapes and hearts onto patterned scrapbooking paper with the aim of glueing these onto our paintings.


The paint dried very quicky being such a warm and sunny day. So, after lunch we poured clear craft glue into a cup and used a paint brush to smear glue onto our paper cut outs. Jasmine helped choose the layout for each painting and stick them on. We were pleased with the end result and stuck them in our playroom.


See below for a list of materials:
  • acrylic paint
  • sponge
  • toothbrush
  • kitchen cloth
  • paint palette or egg carton
  • A3 or similar sized paper
  • scrapbook patterned paper or coloured paper sheets
  • paintbrush to apply glue if needed.
  • stencils, pencil, scissors and glue.
Here are the stencils we traced around by the way.

Wednesday, 4 April 2012

Pirate treasures

Today I made pirate treasure chests with Alex and Jasmine as promised. We made three in total - one each. We used old cardboard boxes that we had collected as a starting point. See the bottom of this post for a list of materials we used in addition to our boxes, all of which we bought at the newsagency.

Similarly to other activities we have done recently, the end product is quite simple. Most importantly it creates an opportunity to talk about pirates, treasure, mermaids and put on our roughest pirate voices and bellow at the top of our voices. The kids loved fingering all their gold paper coins, sitting in their pretend pirate ship, grasping their treasure chest, map and telescopes and fantasising about a life on the sea.

You can see in the pictures that I helped the kids by painting the large box with brown paint as I knew this one would be too big to cover. For the two smaller boxes, we covered these in the metallic wrapping sheets with sticky tape. The kids needed a little assistance with this.

Jasmine decorated her treasure chest with pink glittery hearts and stars that she cut out with fancy hole punchers. She also put glitter glue on the sides of her box. Alex was happy with a plain box but insisted on a skull and bone picture which I found very easily on the internet and printed for him to glue on. For something more ornate I think you could easily stick on some beads, gems or stickers.


Dressed in his favourite pirate suit from Spotlight, Alex took himself off to draw a map.


I cut out coins by tracing around a spice jar on three layers of gold paper. Much of my paper comes from Spotlight, Riot Art and Craft Stores or the Newsagency at my local shops.


Alex told me that all pirates need a sword. That's fine, but I only had pink cardboard so this pirate has a pink sword!

List of materials:
  • brown paint,
  • gold and silver tissue paper and metallic paper,
  • a variety of coloured paper,
  • scissors,
  • glitter,
  • craft glue,
  • heart and star hole puncher,
  • skull and bone clipart print out from the computer.

Tuesday, 3 April 2012

Follow crafty blogs on Facebook or email

I am gradually discovering all the different gadgets available on my blog site and adding them in when I have a chance. I just created a "Crafty Little People" page on Facebook so that you can follow my blogs on Faceboook if you find that easier.

I have also added in the function so you can sign up and have my blog delivered to you via email.

Have a look on the right hand column of my blog page for these new functions including a link to my new Facebook page.

If you like the blogs, click on "Like" and let me know or post me a comment. You can also show your support by clicking on "Follow".

If anyone has suggestions on how to make this blog easier to read or if there is an activity you are particularly keen to read more about, let me know.

Monday, 2 April 2012

Happy Easter crafting and gardening

I mentioned in my previous post that I would talk about our pirate craft activity. However, Easter is upon us and my kids are obsessed with Easter egg hunts and decorating the house with Easter paraphernalia. On top of that, I have been worried about the voracious growth of weeds in my garden and wilting vegie patch. So I am afraid this post is to be about our weekend in the garden - planting and crafting. The sun was out and the temperature perfect so despite our competing goals and desires it was a fun weekend.


I have seen some fabulous dyed eggs in shop windows and in magazines. However, with all the weeding and planting to be done, we put into action some simpler activities. I had to spend a little time setting up the activities for the kids but then I could leave them to it pretty much. We had collected some egg shaped cut-outs, polysterene eggs, felt pieces, shaped buttons, eyelets and brads from my local Riot Art and Craft Store last month. These were all put to good use, plus our usual bag of acrylic paints, craft glue, tissue paper and coloured pipe cleaners. See below for some snaps of what we achieved and a short explanation of how we did it.


For the polysterene eggs, Jasmine and I put them on wooden skewers and gave them a coat of acrylic paint. The paint dried very quickly so Jasmine could easily decorate by sticking brads into the foam. She also used a paint brush to apply the glue to the little coloured buttons and add them on. Alex and Jasmine used the same glue container to stick the pre-cut felt pieces onto their egg-collecting bags. These bags were put to good use in the afternoon when they joined their cousins on a chocolate egg hunt.

For the tissue paper flowers, the kids may find it a bit fiddly so may need help. Cut tissue paper into rectangles then give the long edges a fancy trim such as scallops or triangles. Lay out five different coloured sheets and fold like and accordian or as you would to make a fan. Tie in the middle with a coloured pipe cleaner. Pull apart the fan carefully and then lift up each sheet and massage into a flower shape.